







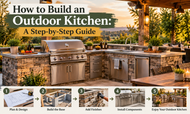
How to Build an Outdoor Kitchen: A Step-by-Step Guide
Posted by Anna William on Oct 2nd 2026
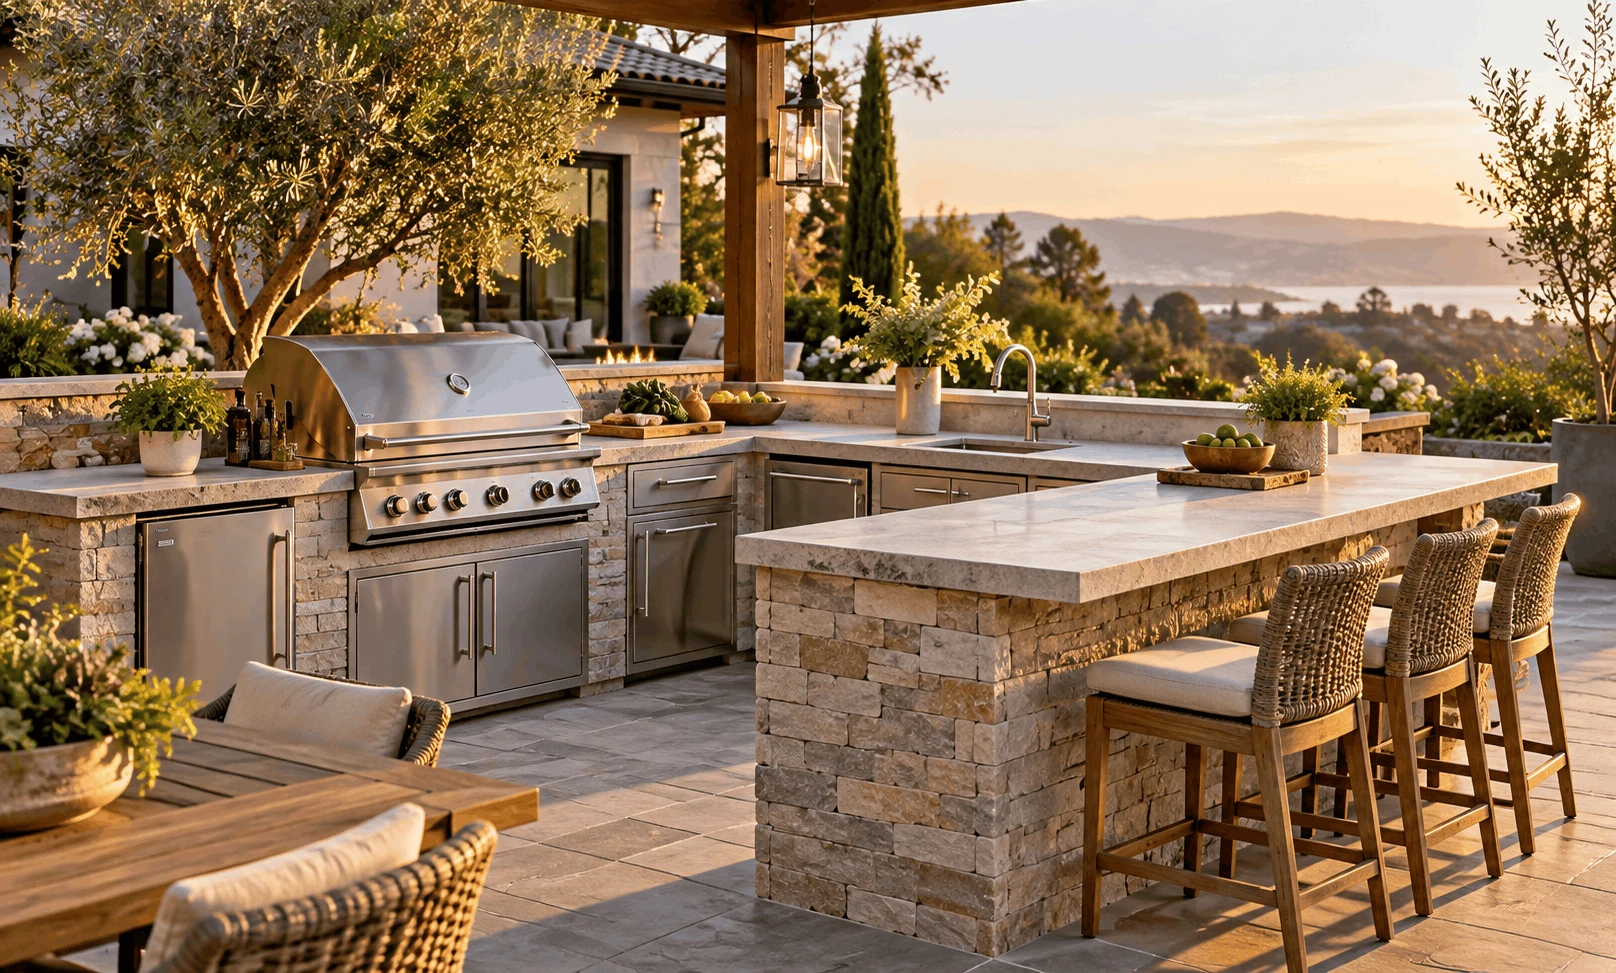
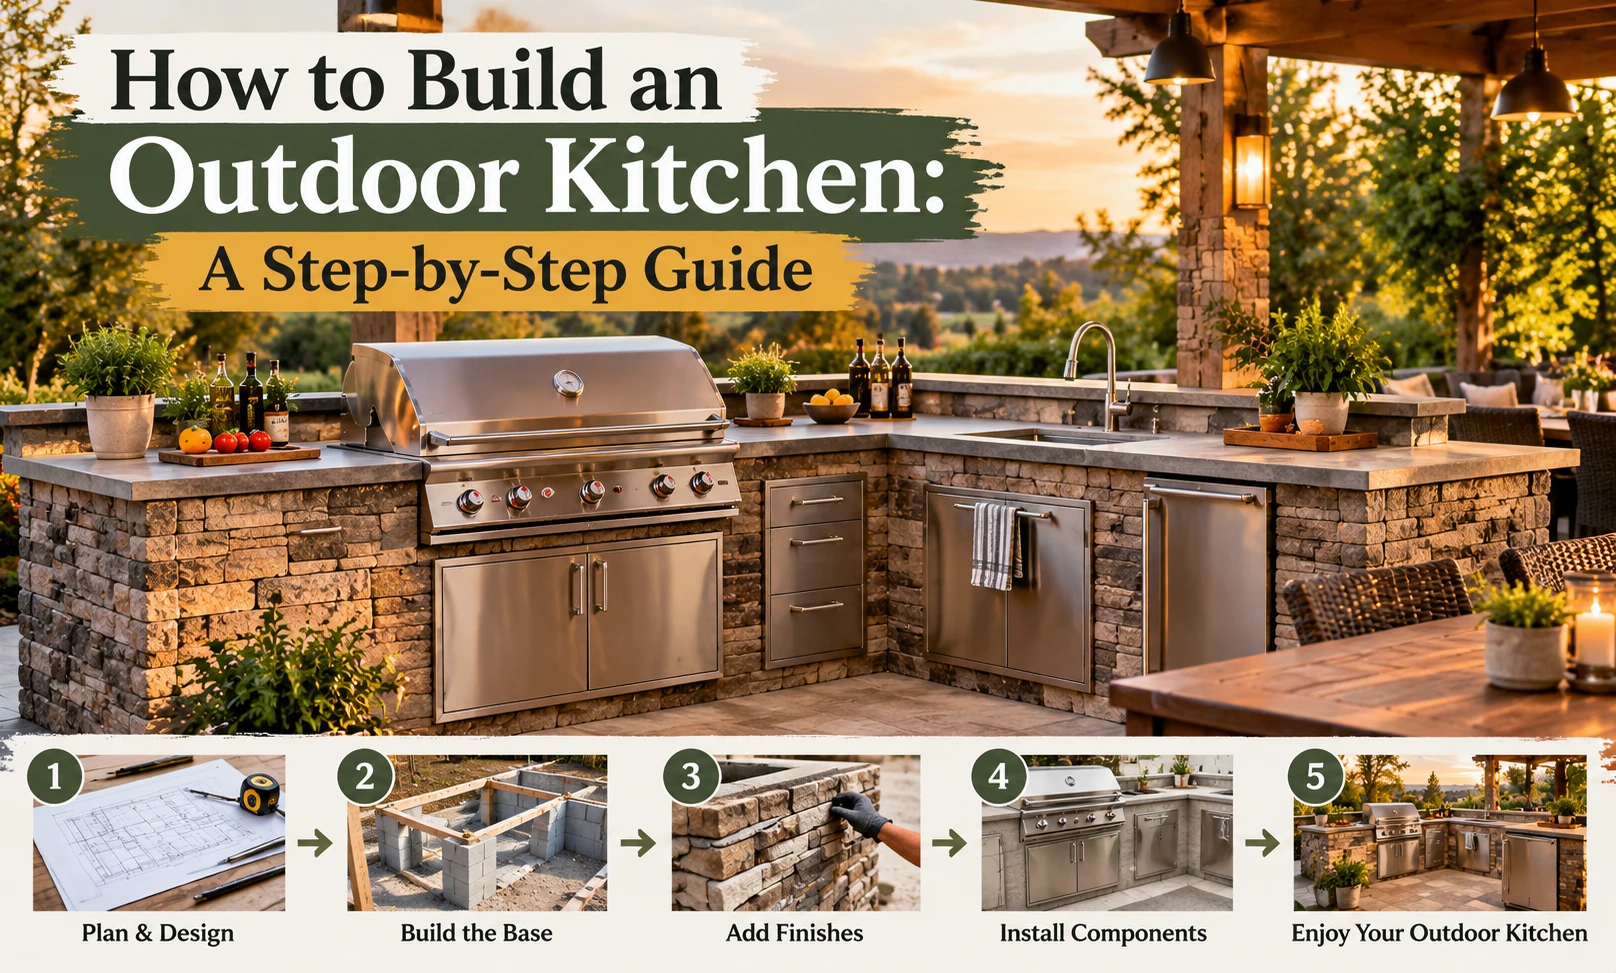
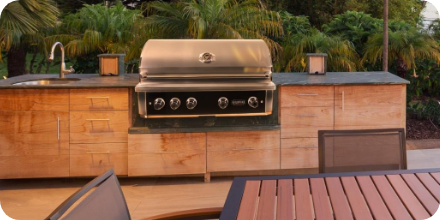
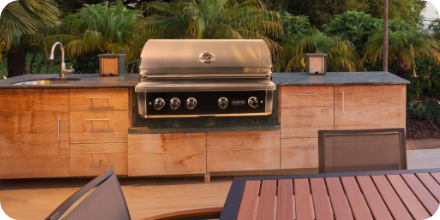
Learning how to build an outdoor kitchen starts well before you pick up a drill. It starts with a plan that fits the way you actually cook and entertain. To build an outdoor kitchen, you pick a location and layout, confirm permits, prepare a level concrete or paver base, frame a noncombustible island, have licensed pros run gas, electrical, and water, then add countertops and install your grill and appliances to the manufacturer's clearances.
? Quick Answer: The 8 Steps
- Plan your budget, cooking style, and location.
- Choose a layout: linear, L-shaped, U-shaped, or island with bar seating.
- Check permits and HOA rules, especially for gas, electrical, and plumbing.
- Prepare a solid, level base, usually a concrete slab or compacted pavers.
- Frame the island with steel studs, concrete block, or a prefab modular system.
- Rough in utilities through a licensed gas fitter, electrician, and plumber.
- Cover the island and install countertops rated for outdoor use.
- Install your appliances with the correct jackets, vents, and clearances, then leak-test.
That's the roadmap. What turns a pile of materials into a kitchen you'll use every weekend is the decision-making at each stage, and that's where most DIY guides move too fast. We help homeowners spec built-in grills, islands, and outdoor appliances every week, so this guide covers the details that save you money, time, and a few headaches.
Note: Cutout sizes, clearances, and venting requirements vary by brand and model. Always build to your appliance's installation manual, not a generic chart.
Table of Contents
- Plan Your Outdoor Kitchen Setup Around How You Cook
- Choose an Outdoor Kitchen Design and Layout
- Check Permits, Codes, and HOA Rules
- Prepare a Solid, Level Foundation
- Frame the Island With Noncombustible Materials
- Rough In Gas, Electrical, and Water
- Clad the Island and Install Countertops
- Install Your Grill and Appliances Safely
- Finishing Touches That Add Real Value
- DIY, Modular Kit, or Outdoor Kitchen Builder?
- Common Mistakes to Avoid
- Frequently Asked Questions
- The Bottom Line
Step 1: Plan Your Outdoor Kitchen Setup Around How You Cook
Before you sketch a single cabinet, answer three questions honestly:
- How often will you cook outside? A weekend griller needs a different outdoor kitchen setup than someone who cooks dinner outdoors five nights a week from May through October.
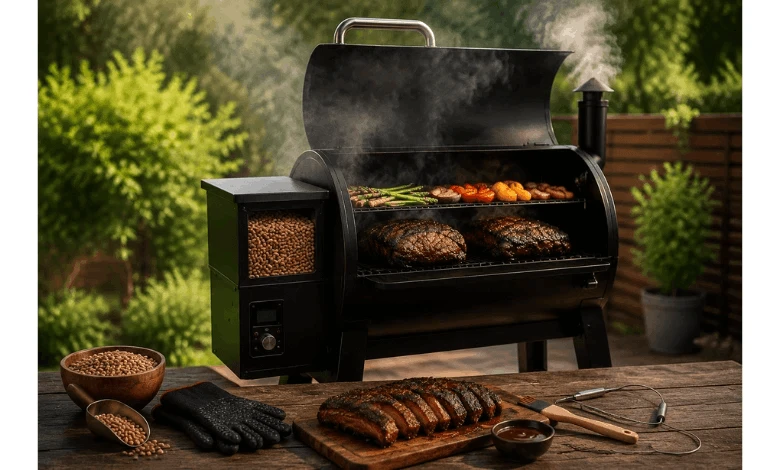
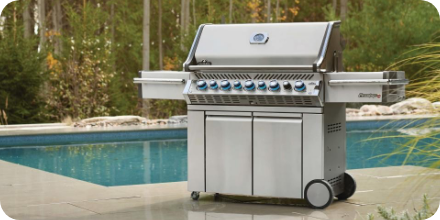
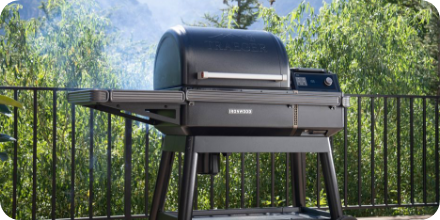
- What do you actually cook? Steaks and burgers point to a high-output gas grill with an infrared sear zone. Brisket and ribs point to a pellet grill or smoker. Pizza night points to a dedicated outdoor oven.
- How many people do you usually host? Four guests and twenty guests need very different counter space, seating, and refrigeration.
Your answers set your budget priorities. As a rule, put the most money into the grill, because it's the appliance you'll use most and the hardest one to upgrade later without cutting into your island.
Pick the Right Location
Placing your kitchen near the house makes utility runs shorter and trips to the indoor kitchen easier. Placing it farther out gives you more design freedom, but longer gas, water, and electrical runs add cost.
Check the wind. Wherever you land, note the prevailing wind so smoke drifts away from your seating area and your home's windows and doors, not into them.
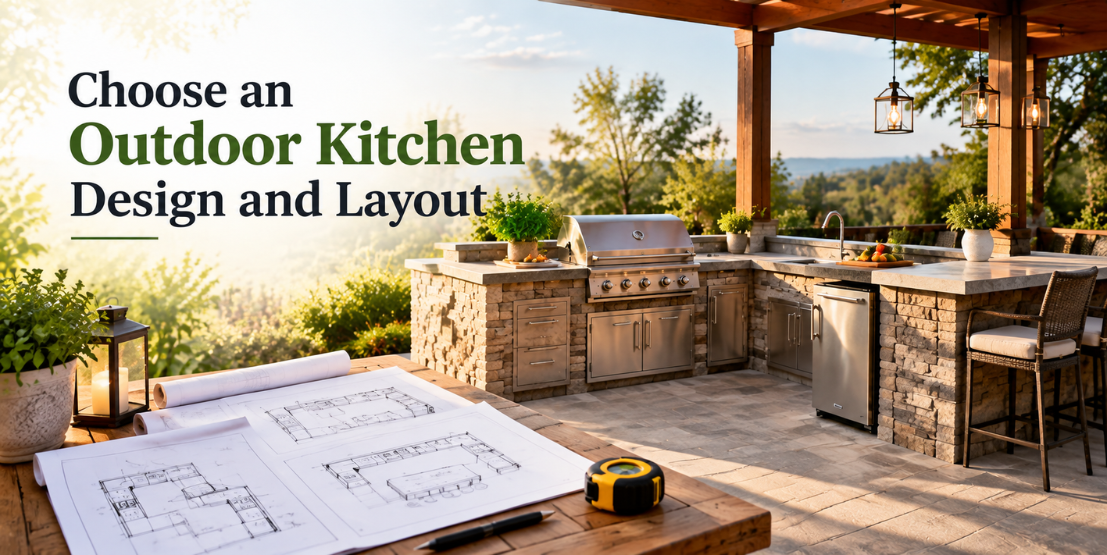
Step 2: Choose an Outdoor Kitchen Design and Layout
Most outdoor kitchen designs fall into four layouts:
| Layout | How It Works | Best For |
|---|---|---|
| Linear (straight run) | Grill in the center with counter space on both sides | Tighter budgets and narrow patios |
| L-shaped | Wraps a corner and separates cooking from prep naturally | Mid-sized spaces |
| U-shaped | Counters and appliances on three sides; needs room to walk in and out | Serious cooks and large yards |
| Island with bar seating | A raised bar ledge (typically around 42 inches high) on the guest side | Hosts who want guests close without crowding the cook |
Think in Zones
Whichever shape you pick, plan your space the same way designers approach indoor kitchens:
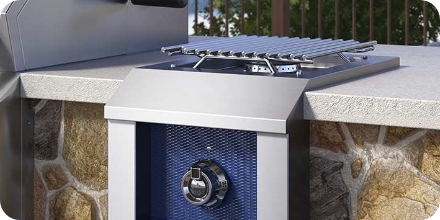
- Hot zone: grill, side burner, griddle, pizza oven, or smoker
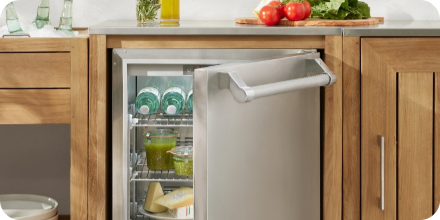
- Cold zone: outdoor-rated refrigerator, ice maker, or beverage center
- Wet zone: sink and trash
- Dry zone: open prep and plating counter, plus storage
Keep at least 18 to 24 inches of landing space on each side of your grill. You'll rarely regret extra counter space outside, but you'll notice the lack of it every time you cook. If you're gathering outdoor kitchen ideas, spend less time on finishes and more on flow, because a beautiful island with nowhere to set down a sheet pan gets frustrating fast.
Pro tip: Mark your proposed layout on the patio with painter's tape or cardboard boxes, then "cook" a pretend meal. You'll spot tight walkways and awkward reaches before you've spent a dollar.
Step 3: Check Permits, Codes, and HOA Rules
This is the step people skip, and it's the one that causes the most expensive redos. Most jurisdictions require permits when you run a new gas line, add electrical circuits, or tie into plumbing. Some also regulate permanent structures, setbacks from property lines, and covered patios.
Call your local building department and your HOA before you finalize your outdoor kitchen plans. Ask specifically about:
- Gas line permits and inspection requirements
- Electrical permits and GFCI requirements for outdoor receptacles
- Setbacks for permanent structures
- Rules for pergolas or roofs over cooking appliances
Permits protect you later. Permitted, inspected work also protects you when it's time to sell your home or file an insurance claim.
Step 4: Prepare a Solid, Level Foundation
A finished island with a stone veneer, a granite top, and a built-in grill can weigh well over a ton. Your base has to carry that load without settling or cracking.
Concrete Slab
The most reliable option. A properly reinforced slab on a compacted gravel base gives you a flat, stable surface to anchor your island.
Existing Pavers or Patio
Often workable if the base beneath was properly compacted. Loose or uneven pavers will shift, so repair them first.
Wood Decks
Be cautious. A heavy masonry island generally isn't something a standard deck is built to support, and wood decking is combustible. If your kitchen has to go on a deck, talk to a structural engineer or contractor and look at lighter modular systems rated for that use.
Call before you dig. Before you pour or build, have utility locators mark buried lines (call 811 in the U.S.), and plan where gas, electrical conduit, and water lines will come up through the slab.
Step 5: Frame the Island With Noncombustible Materials
Here's where many online DIY tutorials steer people wrong. A lot of them frame the island with wood 2x4s. However, most built-in gas grill manufacturers require noncombustible construction or a listed insulated grill jacket when a grill sits inside a structure.
Skip the wood framing. Wood framing next to a burner box is a real fire risk, and it can also void your grill's warranty.
Your safer options:
| Framing Method | Best For | Pros | Watch-Outs |
|---|---|---|---|
| Steel studs + cement board | Most DIY and custom builds | Lightweight, noncombustible, easy to cut | Needs proper fasteners and a moisture barrier |
| Concrete block (CMU) | Permanent, heavy-duty islands | Extremely durable and fire-resistant | Heavy, slower to build, needs a strong slab |
| Prefab modular island | Faster installs, fewer tools | Pre-cut appliance openings and vents | Less custom sizing |
| Wood framing | Not recommended with built-ins | Familiar material | Requires a listed insulated jacket at minimum; check your manual |
Standard counter height outdoors is about 36 inches, and many built-in grill islands use a countertop depth of around 30 inches to fit the grill's cutout. Always build to the exact cutout dimensions in your appliance's installation manual, not a generic chart, because they vary by brand and model.
Step 6: Rough In Gas, Electrical, and Water (Hire Licensed Pros)
Framing and cladding are reasonable DIY projects. Utilities are not. For a safe outdoor kitchen installation, bring in licensed professionals for each of these.
Gas
A licensed gas fitter should size and run your natural gas line, add an accessible shut-off valve, and pressure-test the system.
Using propane? Never store the tank inside a sealed cabinet. Use a vented tank bay or keep it outside the island, as directed by the manufacturer.
Electrical
Outdoor receptacles need GFCI protection and weather-resistant in-use covers. Outdoor refrigerators often call for a dedicated circuit, and your lighting, rotisserie, and electronic igniter all need a safe, code-compliant power source. Skip permanent extension cords; they aren't a safe substitute for proper wiring.
Water
A plumber can run supply and drain lines. In cold climates like ours here in Colorado, plan for freeze protection: an indoor shut-off valve and a way to drain the lines before winter.
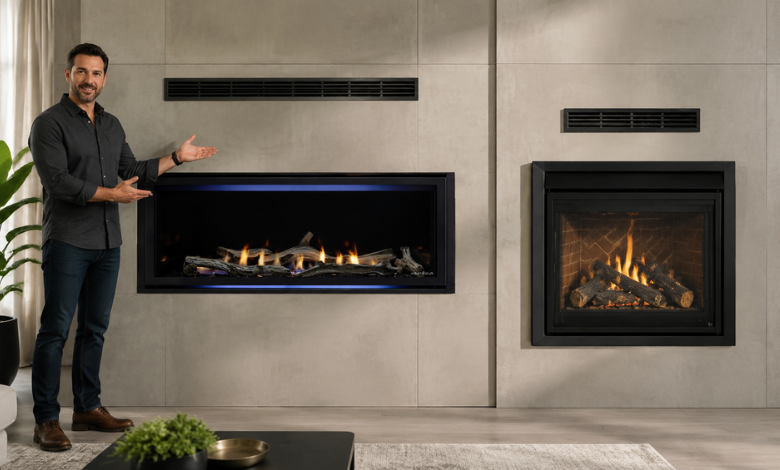
Ventilation is non-negotiable. Islands housing gas appliances need vent panels so leaking gas can't accumulate. Propane is heavier than air and settles low, while natural gas rises, so follow your manufacturer's vent placement. Most recommend vents on opposite sides of the island for cross-ventilation.
Step 7: Clad the Island and Install Countertops
With the frame and utilities in place, you can finish the exterior. Popular cladding options include stacked stone veneer, stucco, porcelain tile, and brick.
Installation methods for stone veneer vary by manufacturer. Many require a water-resistive barrier, metal lath, and a mortar scratch coat over cement board, while others allow direct application with a modified mortar. Always follow your veneer maker's instructions.
For countertops, choose materials that handle sun, rain, and temperature swings:
| Countertop Material | Strengths | Keep in Mind |
|---|---|---|
| Granite | Durable and heat-tolerant | Seal it regularly |
| Concrete | Customizable | Needs sealing to resist grease stains |
| Porcelain slab | UV-stable, stain-resistant, low maintenance | Follow the fabricator's outdoor guidance |
| Stainless steel | Sleek and easy to clean | Gets hot in direct sun |
Skip indoor quartz. Many indoor quartz products aren't UV-rated and can discolor outside. Give your top a slight slope away from the grill or toward the front edge so rainwater doesn't pool.
Step 8: Install Your Grill and Appliances Safely
This is the moment you've been building toward. To install your appliances correctly:
1. Install Insulated Jackets
Use them wherever the manufacturer requires, especially if any part of the structure is combustible.
2. Match Every Cutout
Check each opening against the installation manual before setting the grill.
3. Respect Overhead Clearances
Many grills aren't rated for use under a combustible roof or pergola without a properly sized outdoor vent hood.
4. Leak-Test Every Gas Connection
Brush a soap-and-water solution over each connection. Bubbles mean a leak.
Never use a flame to check for leaks. Soap and water is the only safe DIY test.
5. Use Outdoor-Rated Appliances Only
Indoor refrigerators fail quickly outside and can create electrical hazards.
Once everything checks out, do a burn-in on the grill according to its manual, then keep a fire extinguisher rated for grease and electrical fires within easy reach.
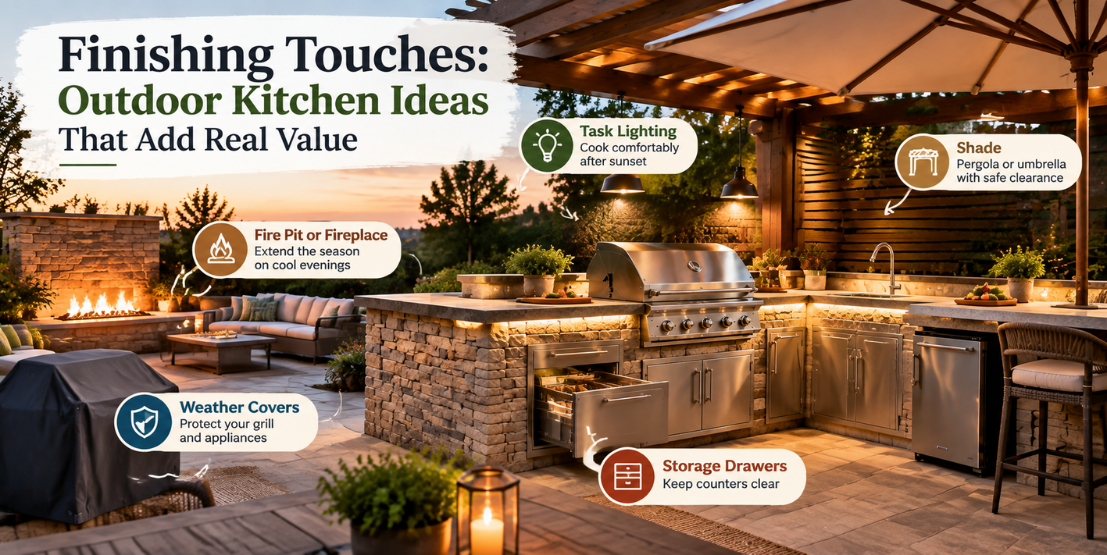
Finishing Touches: Outdoor Kitchen Ideas That Add Real Value
- Task lighting over the grill and prep zone so you can cook after sunset
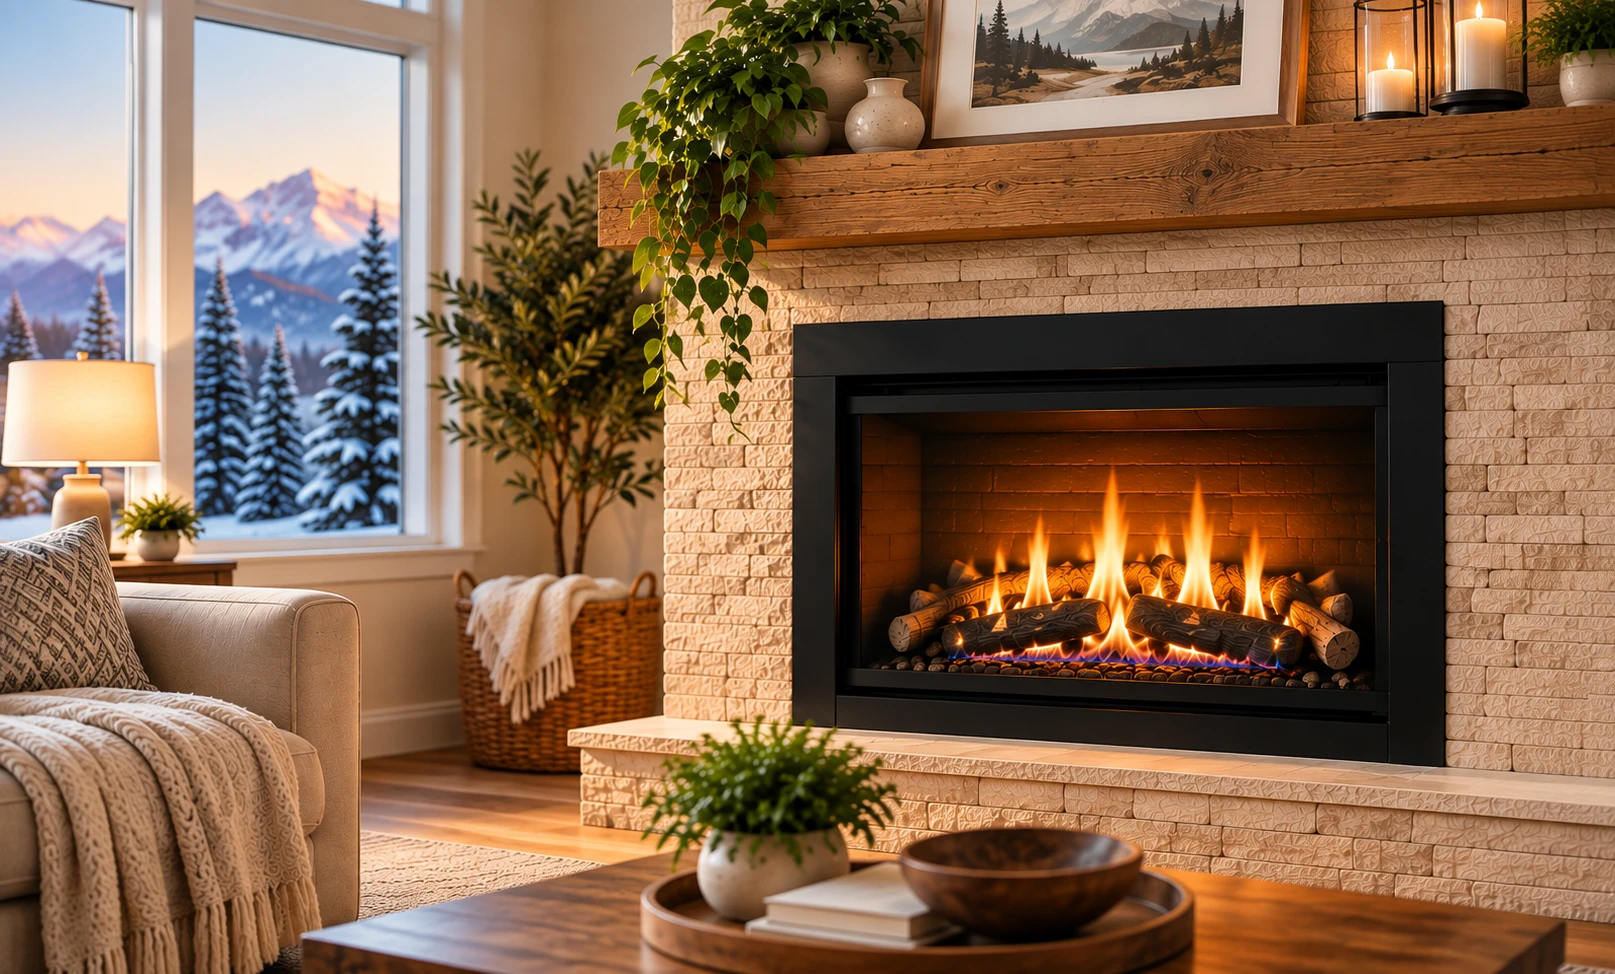
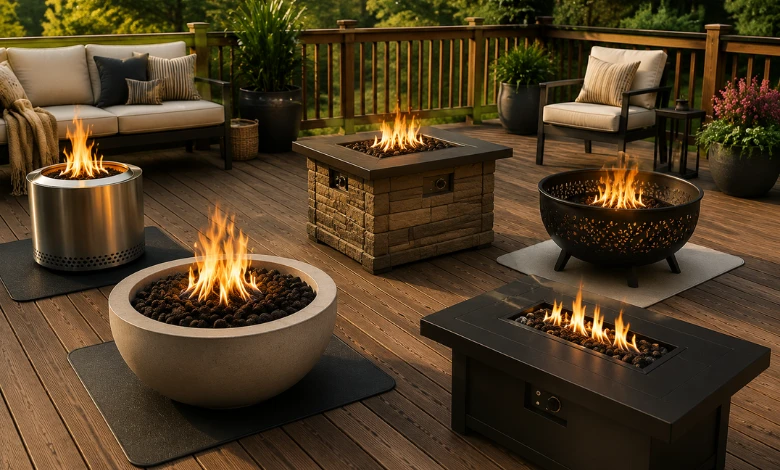
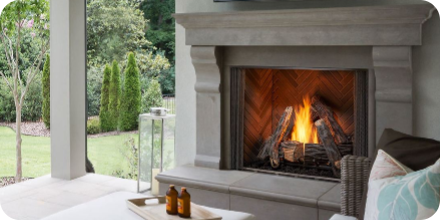
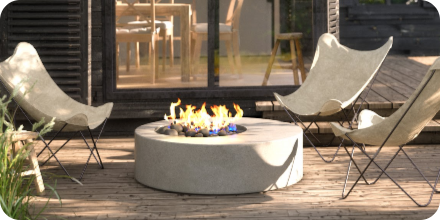
- A fire pit or outdoor fireplace to extend the season on cool evenings
- Weather covers for your grill and appliances
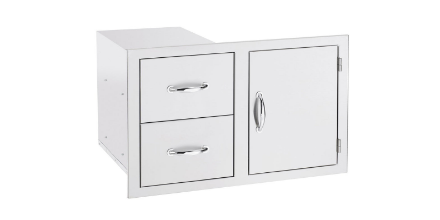
- Storage drawers and trash pull-outs to keep counters clear
- Shade, such as a pergola or umbrella, placed with safe clearance from cooking appliances
DIY, Modular Kit, or Outdoor Kitchen Builder?
| Approach | Best For | Time Commitment | Customization |
|---|---|---|---|
| Full DIY build | Experienced DIYers with a custom vision | Several weekends or more | Highest |
| Prefab modular island | Homeowners who want speed and fewer tools | One to two days of assembly | Moderate |
| Professional outdoor kitchen builder | Complex layouts, covered kitchens, full utility runs | Handled for you | High, with code compliance built in |
Many homeowners land in the middle: they buy a modular or prefab island, hire pros for the utilities, and handle the finishing work themselves. It's a smart balance of savings and safety.
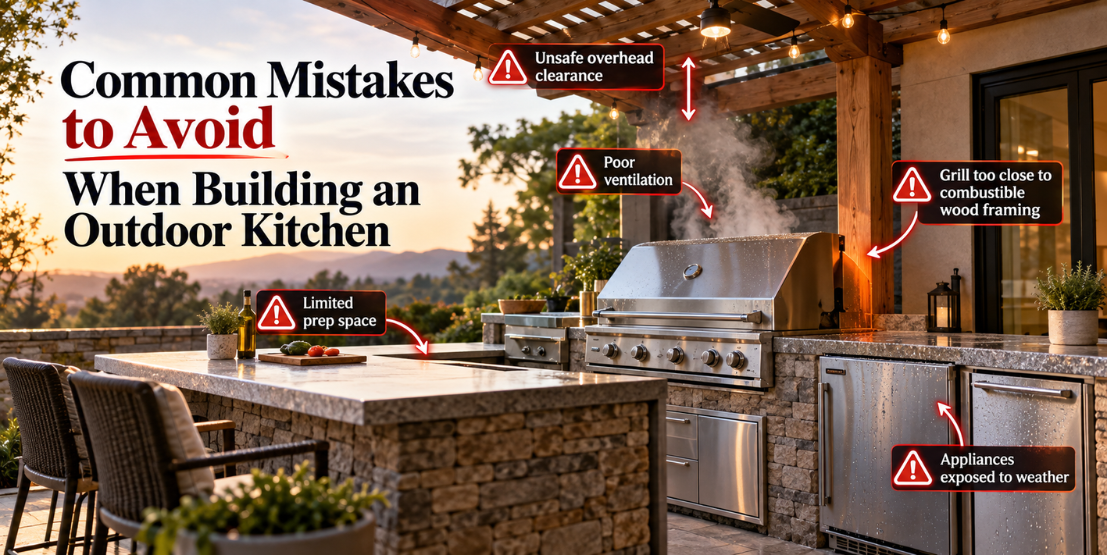
Common Mistakes to Avoid When Building an Outdoor Kitchen
| Mistake | What to Do Instead |
|---|---|
| Buying the island before choosing the grill | Pick the grill first so the cutout fits |
| Skipping vent panels in a gas-fed island | Add vents per the manufacturer, usually on opposite sides |
| Wood framing around a built-in grill without a listed insulated jacket | Frame with steel studs, block, or a prefab system |
| Smoke blowing straight into the seating area | Check the prevailing wind before placing the grill |
| Forgetting winterization for sinks and water lines | Plan an indoor shut-off and a way to drain the lines |
| Underestimating counter space | Leave 18 to 24 inches of landing space on each side of the grill |
Frequently Asked Questions
How do you build an outdoor kitchen?
Pick a location and layout, confirm permits, prepare a level concrete or paver base, frame a noncombustible island, have licensed pros run gas, electrical, and water, then add countertops and install your grill and appliances to the manufacturer's clearances.
Do you need a permit to build an outdoor kitchen?
Often, yes. Most jurisdictions require permits for new gas lines, electrical circuits, and plumbing, and some also regulate permanent structures, setbacks, and covered patios. Check with your local building department and HOA before you finalize plans.
What is the best base for an outdoor kitchen?
A properly reinforced concrete slab on a compacted gravel base is the most reliable option. Existing pavers can work if the base beneath was properly compacted. A standard wood deck generally isn't built to support a heavy masonry island.
Can I frame an outdoor kitchen island with wood?
It isn't recommended with built-in grills. Most built-in gas grill manufacturers require noncombustible construction or a listed insulated grill jacket. Steel studs with cement board, concrete block, or a prefab modular island are safer choices.
How tall and deep should an outdoor kitchen counter be?
Standard outdoor counter height is about 36 inches, and bar ledges are typically around 42 inches. Many built-in grill islands use a countertop depth of around 30 inches, but always build to the cutout dimensions in your grill's installation manual.
How much counter space do I need next to my grill?
Keep at least 18 to 24 inches of landing space on each side of your grill for prep, plating, and setting down tools.
Can I run the gas line for my outdoor kitchen myself?
No. A licensed gas fitter should size and run the line, add an accessible shut-off valve, and pressure-test the system. Electrical and plumbing work should also go to licensed professionals.
Does an outdoor kitchen island need vents?
Yes, if it houses gas appliances. Vent panels keep leaking gas from accumulating inside the island. Follow your manufacturer's vent placement; most recommend vents on opposite sides for cross-ventilation.
What countertop is best for an outdoor kitchen?
Granite, sealed concrete, porcelain slab, and stainless steel all handle outdoor conditions well. Avoid most indoor quartz products, since many aren't UV-rated and can discolor in the sun.
The Bottom Line
Building an outdoor kitchen is one of the most rewarding upgrades you can make to your home. It gives you a space where weeknight dinners feel like a getaway and weekend cookouts become traditions. The secret to getting it right is simple: plan around how you really cook, build with noncombustible materials, leave the gas and electrical work to licensed pros, and install every appliance exactly as the manufacturer intended.
When you're ready to bring your plans to life, Embers Living is here to help. Our team works with homeowners every day to choose the right built-in grills, insulated jackets, islands, and outdoor appliances from brands like Blaze, Coyote, Fire Magic, American Outdoor Grill, and Napoleon. Whether you're sketching your first layout or ready to order, we'll help you match the right pieces to your space and your budget.
Explore our outdoor kitchen collection, or visit our showroom at 7705 W. 108th Ave, Unit 600, Westminster, CO 80021, open Monday through Friday from 9 AM to 5 PM and Saturday from 10 AM to 4 PM.
Your dream backyard kitchen is closer than you think. Visit our blog section, email us at sales@embersliving.com, or call 303-800-5659. Our Embers Living team is ready to help you build it.